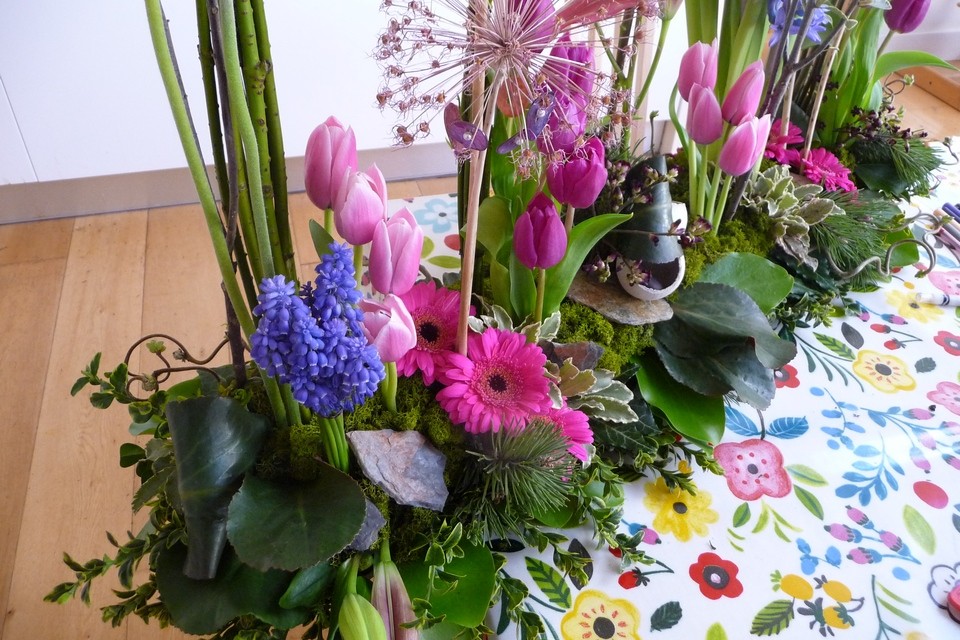
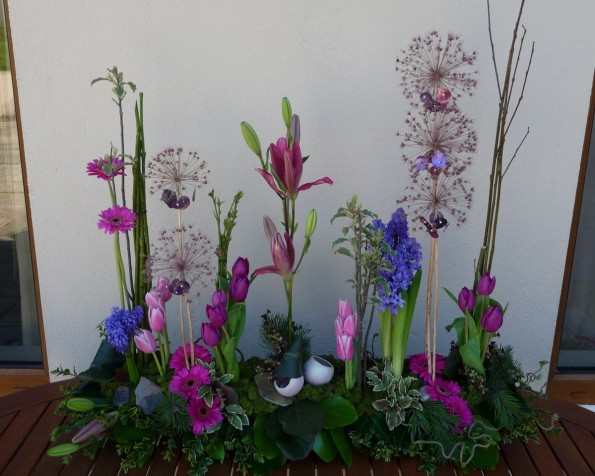
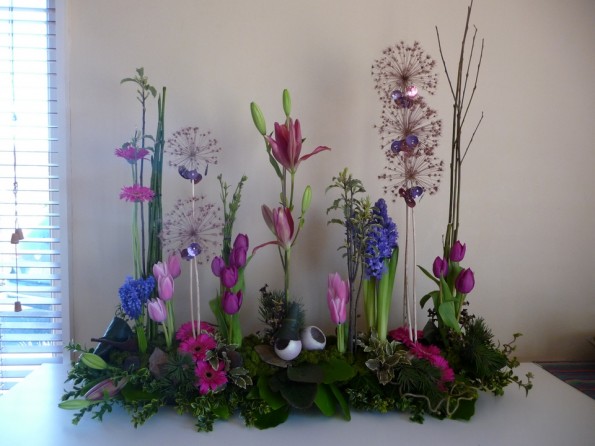
A European Parallel Design is a formal linear design where the forms and lines are dominant. The lines in this design are created by grouped plant material set in a vertical pattern with negative space between each section. The negative or empty spaces allow the eye to travel through the arrangement. These arrangements can be stylised (decorative) or naturalistic (vegetative) and whilst they can loosely resemble a garden border they are not necessarily arranged to mimic how you’d see plants in nature, and you need not be confined to combining plants that are seasonally compatible.
I enjoyed creating this design as part of a workshop evening back in the spring. To create this design I started by filling a low rectangular container with floral foam (the design above was done in a large flat tray that held 3 blocks of foam) Next step is basing and if you have a large arrangement you will need plenty of leaves, greenery and perhaps pebbles or stones to create or fill in your base. Thirdly I completed the vertical lines before finishing up the tapestry base with pillows of green dyed reindeer moss. Dried Allium heads create a firework effect with the shell buttons that I pinned into them to enliven their colour.
Basing a parallel design
Covering the area at the base of a floral arrangement is generally known as basing. An arrangement’s base is the horizontal ground surface found at the top of whatever you are using as a container. This ground surface usually consists of the exposed surface of the floral foam block into which the floral elements are inserted.
- Basing creates focal emphasis at the base of an arrangement
- Basing a design can activate the surface with texture. Texture is the main element involved in basing, but colour plays an important part too.
Formal linear and parallel arrangements need open space for all of the upright placements to be clearly visible. This leaves the surface of the foam exposed, since there won’t be any bulky foliage to cover the foam in a general way. Nothing much should be hanging over the edges in a parallel design so you won’t require long lengths of greenery – mainly shorter sprigs or lengths (eg. buxus or pittisporum) and a variety of textured, flat or rounded larger leaves (I used bergenia and griselinia) are useful. I have seen tips recommending that you attach a large leaf such as an apidistra leaf with greening pins to cover up the foam at this stage, rather than going back and filling in with moss at the end. Some stems will poke right through the leaf, whereas you may need to poke a hole for other, more tender ones. This method is ideal if you don’t have moss or intend to use many flowers in the base. Here is a picture of what I describe.

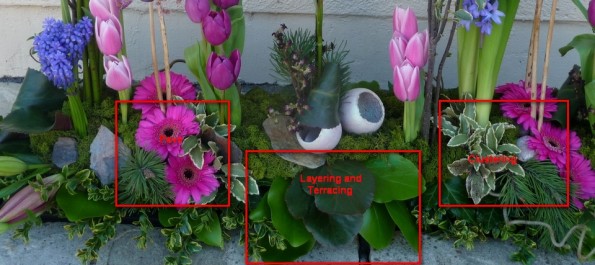
Several other techniques used in basing are layering, terracing, clustering, pillowing, and pavéing.
Layering is where leaves or other thin, flat materials are placed one on top of the other for visual effect. The edges of the leaves get the most attention in this technique. Leaves can
be secured together in stacks of three or more with a small wire and placed into the foam horizontally. You might layer leaves of graduated sizes with the largest on the bottom. Or they can also be reversed to reveal the different colour or texture on the back. Another technique may be to place the layered stack of foliage so that it extends over the edge of the container breaking the line created by the container’s edge.
Terracing is simply placing materials on top of one another, divided by space, like a staircase.
Pillowing is a basing method where rounded shapes are the object. Think of rolling hills, clouds, or pillows: the contour is rounded, and harsh angles are absent. Pillowing involves the use of a mounded mass of floral materials at the design’s surface level. In my design I used the pale green moss to give a pillowed base pinning it in with wire where necessary.
Pavé-ing is a tight clustering technique where the surface of the bunches remains totally flat, creating a cobblestone effect.
Creating the parallel lines
Once you have formed a good horizontal base for your parallel design you can turn your focus toward creating the lines of upright materials in your arrangement. The lines create negative and positive space. These vertical lines should vary in height, distance from one another and in colour to lead your eye up and down and around the design. Notice how I replicate or carry the similar colour groupings at different heights in the arrangement from on the base to up high.
You will see that in my design I have used a technique called grouping. This is a key characteristic of parallel design and it refers to placing collections (groups) of identical floral materials in an arrangement, and separating the collections from each other with clearly defined negative space. There must be space between individual groups of elements because this space is what makes each group distinct. This space is “negative” because it separates the individual elements. In a grouped arrangement, the flowers in a particular group must all be the same. The individual flowers within each group generally retain their individual identity and can be of different heights. Grouping gives the colours and shapes additional strength while adding visual emphasis and impact to each area in the arrangement.
where is good to display a parallel design?
There are many possibilities for parallel designs. Our flower club worked on these in preparation for creating decorations to top the radiator covers along the side aisles in our church flower festival and form long displays across the gallery ledge. On a smaller scale these make great table centerpieces because you can see through them easily and they look good from all sides. There are few limits to what your imagination can do – you can quickly create a little mini “world in a box” that seldom has anything to do with the way plants would really be growing. Intriguingly this design really stood out to the men in my family and I have heard it said that men prefer these vertical designs.


0 comments on “European Parallel Design”Add yours →